
Winter uniforms mean the dreaded TIE is back!
School ties are a compulsory part of many school's uniforms, especially in the cooler months. BUT it's often the tie-tying that's the big let-down in our child's appearance... and that's even if we DO help!
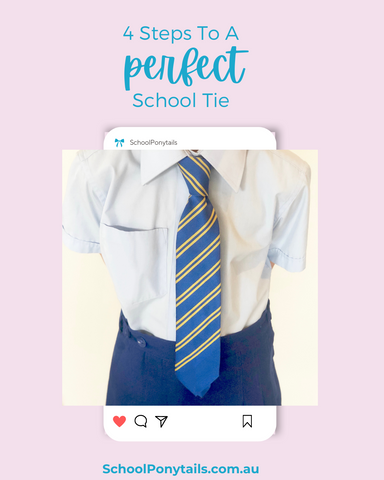
Let's take a deep breath, and tackle it step-by-step...
Tie Style 1: The Four In Hand
This is our "go-to" knot, as it's a bit neater than just a simple knot, and will look good in every tie-wearing situation.
It's slim, but not too skinny, and it's the most commonly used style with grown-ups and schools.
How to tie it:

Photo Credit: Esquire.com
- Place your tie around your neck the right side up, with the wide end on your right hand side, and the skinny end on the left. Pull the wide end so it sits below the skinny end - it should end slightly above your belly button.
- You are only moving the wide end. Cross the wide end of the tie over the skinny end, and then continue underneath.
- Cross the wide end over the skinny end one more time. This is the part that makes the tie sit nicer!
- Hold the knot steady and slip the wide end down through the knot. Centre the dimple and tighten your tie, by holding the knot and pulling the skinny end underneath.
Here's a video to show you how:
The Simple Knot
For those times that it's just all too tricky, look no further than the easiest style of the lot! This is the knot to use with a skinny tie, or if you want to have a very small knot.
How to tie it:

Photo Credit: Esquire.com
- Place your tie around your neck, upside down, with the wide end on your right hand side. Pull the wide end so it sits at below the skinny end, and then cross the wide end underneath the skinny end, to the left.
- You are only moving the wide end. Cross the wide end over and to the right, and then up through the neck loop from underneath.
- Pull your tie down through the loop and then tighten and adjust.
Here's the video:
Did you know?
There's a sewn line on the underside of your tie - it's where the fabric was cut and joined. If you line this up with the crease on the front side of your shirt shoulder, you should have a perfect length for your tie. Try it!
Now: practice!
I wore a tie to school everyday as a child in Scotland, and was expected to know how to tie my own from a very young age. Now we're in Australia, our school tie is more of a winter thing, so I hadn't pushed it on my 7 year old to learn... With these little tricks, she's nailed it and will be well and truly set for this winter!
When I see her with her tights on, tie tied, and bows in her hair, it really takes me back to when I was her age... way back in the '80's!
Do you have fond school uniform memories? Share with me in the comments!
- Nicola @ School Ponytails


